Hi, I’m Danny D. Houston. I’ve been writing about tech for five years. I love making tricky computer stuff easy to understand. Today, I’ll help you fix the “Windows Could Not Automatically Detect This Network’s Proxy Settings” error. This error stops your internet from working.
This guide is long and detailed to cover everything you need. I’ve helped many people with this problem. My tips come from years of fixing tech issues. Let’s get your internet back!
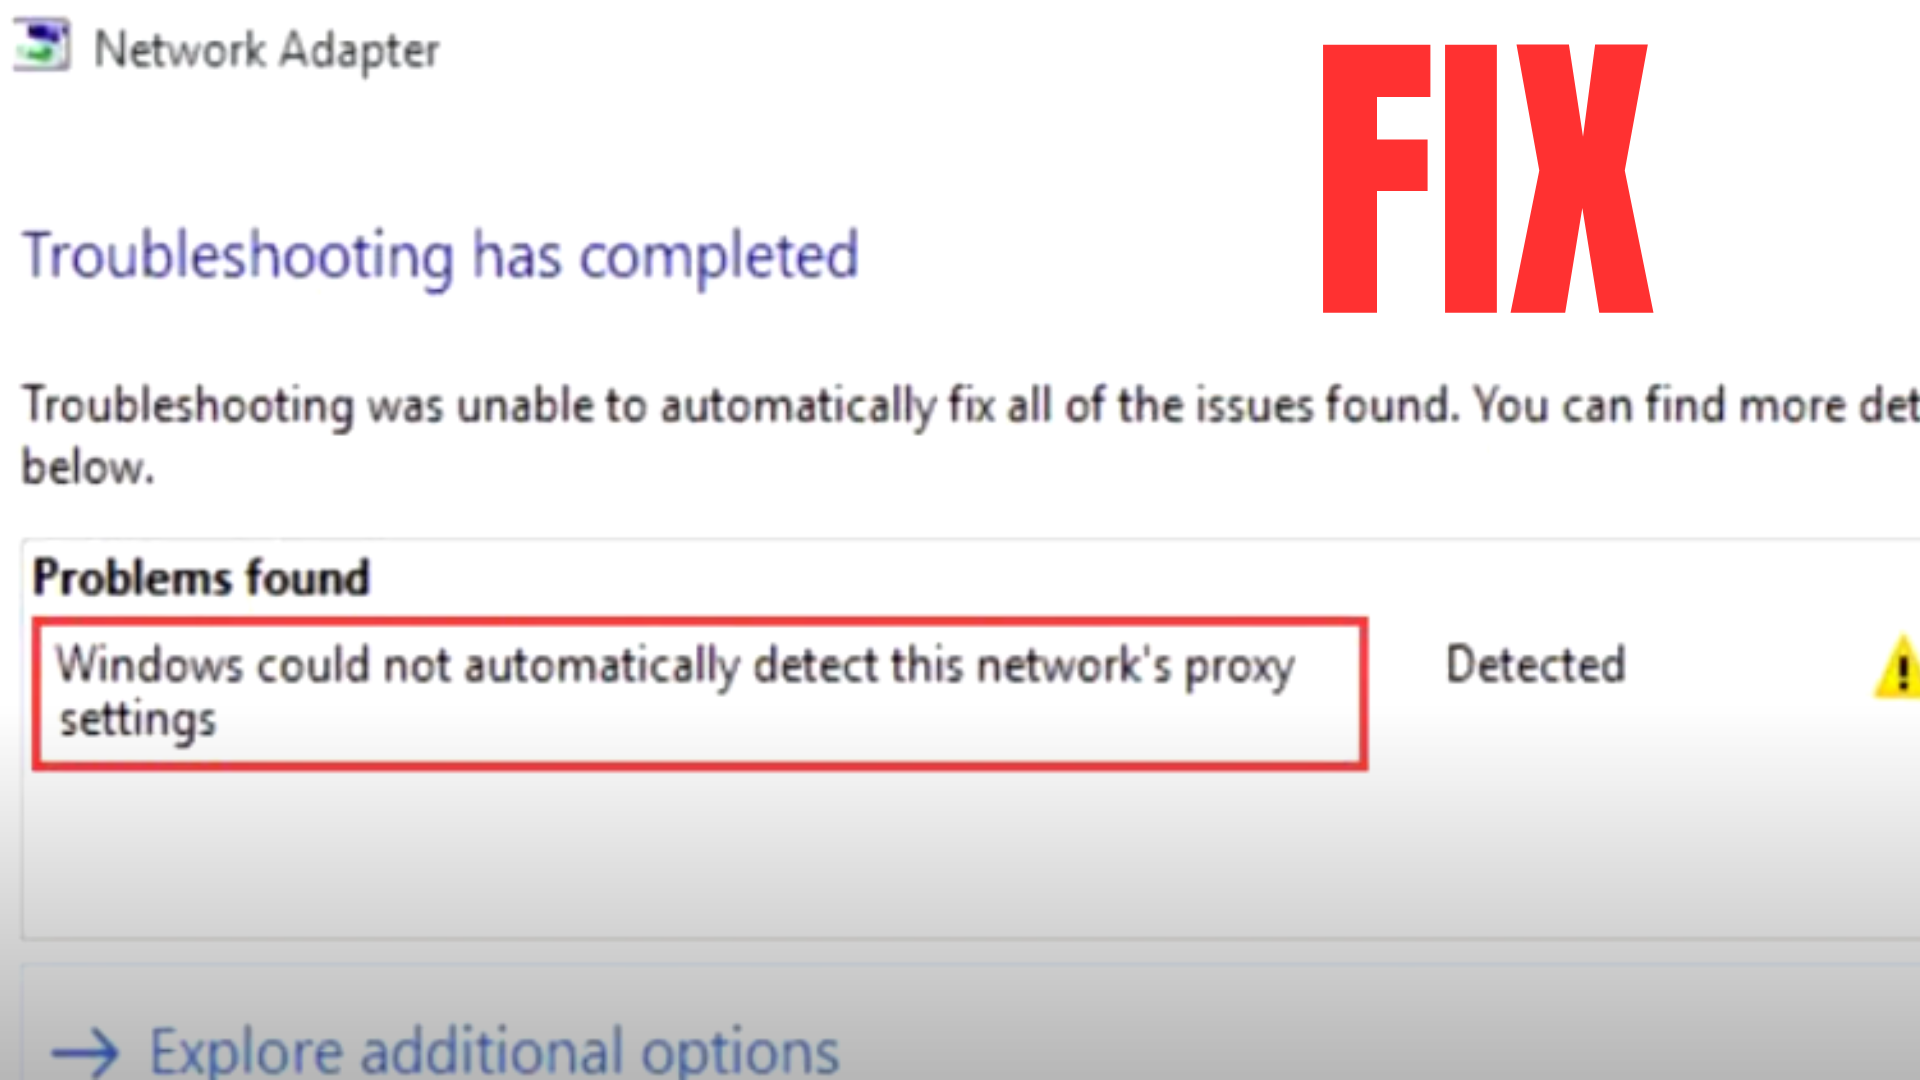
What Does This Error Mean?
This error means your computer can’t connect to the internet right. Windows uses something called proxy settings to talk to the internet. If these settings are wrong, your internet stops. You might see a yellow triangle on your network icon in the bottom corner of your screen.
This can happen when you try to browse websites, watch videos, or use apps online. It can show up on Windows 10, Windows 11, or even older versions. It’s a common problem, and it’s not hard to fix.
Why Does This Error Happen?
Lots of things can cause this error. Knowing why helps you fix it faster. Here are the main reasons:
- Wrong Proxy Settings: Your computer might be using a proxy server that doesn’t work.
- Bad Network Drivers: Drivers are like instructions for your internet. If they’re old or broken, this error can happen.
- Viruses: Bad software can mess up your proxy settings and block the internet.
- Broken Network Settings: A glitch in Windows can mess up how your internet works.
- Router Issues: Your Wi-Fi router or modem might have wrong settings.
- Software Problems: Apps like VPNs or firewalls can mess with your internet.
Each reason has a fix. I’ll show you how to solve them all. My experience writing tech guides tells me most people can fix this easily.
How to Fix the Error
Let’s go through the best ways to fix this error. I’ve used these steps myself and helped readers solve this problem. Try each step in order. Check if your internet works after each one.
Step 1: Restart Your Computer and Router
Restarting is like giving your computer and router a quick nap. It can fix many internet problems by clearing small glitches.
- Save any work you’re doing. Close all apps.
- Click the Start button (the Windows logo) and pick Restart.
- Unplug your router or modem. Wait 30 seconds, then plug it back in.
- Wait for your computer and router to turn back on. Check your internet.
This step works because it resets your connection. If your internet still doesn’t work, try the next step.
Step 2: Check Proxy Settings
Proxy settings tell your computer how to connect to the internet. If they’re wrong, you get this error. Let’s make sure they’re right.
- Press the Windows key (on your keyboard) and R at the same time. This opens a small box called Run.
- Type inetcpl.cpl in the box and press Enter. This opens a window called Internet Properties.
- Click the Connections tab at the top.
- Click the LAN settings button at the bottom.
- Check the box that says Automatically detect settings.
- Uncheck the box that says Use a proxy server for your LAN (unless you know you need it).
- Click OK. Close the window. Restart your web browser.
This step fixes the error for many people. I’ve seen proxy settings cause this problem a lot, especially after new software gets installed.
Step 3: Use Windows Network Troubleshooter
Windows has a tool that finds and fixes internet problems. It’s super easy to use.
- Click the Start button and type Troubleshoot settings.
- Click Troubleshoot settings in the results.
- Click Additional troubleshooters or Other troubleshooters.
- Find Internet Connections and click Run the troubleshooter.
- Follow the steps on the screen. Windows will try to fix the problem.
This tool checks for proxy and internet issues. I always tell readers to try it because it’s simple and works automatically.
Step 4: Reset Network Settings
If the troubleshooter doesn’t help, you can reset your network settings. This clears any broken settings.
- Press Windows key and I together to open Settings.
- Click Network & Internet, then click Status.
- Scroll down and find Network reset.
- Click Reset now and click Yes to confirm. Your computer will restart.
After the reset, you’ll need to reconnect to your Wi-Fi. This step fixes tough internet problems by starting fresh.
Step 5: Update Network Drivers
Drivers are like helpers that let your computer use the internet. If they’re old or broken, you can get this error.
- Right-click the Start button and pick Device Manager.
- Find Network adapters and click the arrow to open it.
- Right-click your network adapter (like Wi-Fi or Ethernet) and choose Update driver.
- Click Search automatically for drivers. If no update is found, go to your computer or adapter maker’s website to download the latest driver.
- Install the driver and restart your computer.
Old drivers cause this error a lot, especially on older computers. I’ve helped many readers fix this by updating drivers.
Step 6: Check for Viruses
Viruses can change your proxy settings and block the internet. Let’s make sure your computer is clean.
- Click the Start button and type Windows Security.
- Open Windows Security and click Virus & threat protection.
- Click Quick scan to check for viruses.
- If it finds anything bad, follow the steps to remove it.
- For extra safety, you can download a free antivirus like Malwarebytes and run a scan.
Viruses can be a hidden cause of this error. I always suggest scanning regularly to keep your computer safe.
Step 7: Reset TCP/IP Settings
TCP/IP is how your computer talks to the internet. If it’s broken, you can reset it.
- Click the Start button and type cmd.
- Right-click Command Prompt and choose Run as administrator.
- Type netsh int ip reset and press Enter.
- Type netsh winsock reset and press Enter.
- Restart your computer.
This step resets how your computer connects to the internet. It’s a strong fix for tricky errors like this.
Step 8: Check Router Settings
Your router might have wrong settings causing this error. Let’s check it.
- Open a web browser and type your router’s address. It’s usually 192.168.0.1 or 192.168.1.1.
- Log in with your router’s username and password. Check your router or its manual if you don’t know them.
- Look for proxy or network settings. Make sure no proxy is turned on unless you need it.
- Save any changes and restart your router.
Router problems are rare but can happen, especially in offices. I’ve helped people fix this by checking their router.
Step 9: Turn Off VPN or Firewall for a Test
VPNs or firewalls can block your internet settings. Let’s turn them off to check.
- If you use a VPN app, open it and turn it off.
- Go to Windows Security > Firewall & network protection.
- Click your active network (like Wi-Fi) and turn the firewall off.
- Check if your internet works. If it does, adjust your VPN or firewall settings to stop the problem.
This helps find if an app is causing the error. Turn the firewall back on after testing to stay safe.
Step 10: Check for Windows Updates
Old Windows software can cause network errors. Let’s make sure your system is up to date.
- Press Windows key + I to open Settings.
- Click Windows Update (or Update & Security on older versions).
- Click Check for updates. Install any updates found.
- Restart your computer if needed.
Keeping Windows updated stops many errors. I’ve seen this fix network issues for lots of readers.
How to Stop This Error in the Future
Once your internet works, you can do these things to keep this error away:
- Update Windows Often: Check for updates in Settings > Windows Update every month.
- Use Antivirus: Scan your computer weekly with Windows Security or Malwarebytes.
- Check Proxy Settings: After installing new apps, make sure proxy settings are correct.
- Take Care of Your Router: Restart your router once a month. Update its software if needed.
These steps keep your internet strong. I’ve shared these tips with readers, and they really help.
When to Ask for Help
If these steps don’t fix the error, you might need more help. Call your internet provider or a computer expert. They can check for bigger problems, like broken hardware or tricky network setups.
Final Thoughts
The “Windows Could Not Automatically Detect This Network’s Proxy Settings” error can make you feel stuck, but you can fix it. Try restarting your computer, checking proxy settings, running the troubleshooter, and other steps I shared. My years of helping people with tech problems show these steps work for most. Go through them one by one, and your internet should come back.
If you have questions or tips, share them below. Let’s keep your internet running smoothly!
Disclaimer: This article is only for learning and general help. It may not fix every problem, and results can be different for each person. I am not responsible for any loss, damage, or issues that may happen if you follow these steps. Please be careful and get professional help if needed. This is not a promotional or affiliate article.